In this article, we will take a look at tracking your customer’s journey with Facebook Pixel in order to measure and optimise your adverts for conversions.
Note: In January 2022, after turning the Facebook company into Meta, the company changed the Pixel name to “Meta pixel”.
Reference #
- Facebook – Conversion Tracking: link
- Facebook – Standard Events: link
- Facebook – Standard Events and Parameters: link
- Facebook – Custom Events: link
- Facebook – Events for Dynamic Ads: link
- Analytics mania – Install Facebook Pixel with Google Tag Manager: link
- Jon Loomer – Facebook Ads and the Role of Custom Conversions: link
- Andrew Hubbard – Conversion Tracking on Facebook: link
- Markeko – Measure Your Marketing Funnel with Facebook Pixel: link
You have better odds trying to fly an airplane while blindfolded and drunk then you do at long-term Facebook success without conversion optimisation.
Conversion Tracking on Facebook #
So, let’s start at the beginning.
Facebook conversion tracking has become simpler over time.
There used to be two separate components to install:
Website Custom Audience Pixel
Conversion Pixels
Now you just have one thing: The Facebook Pixel.
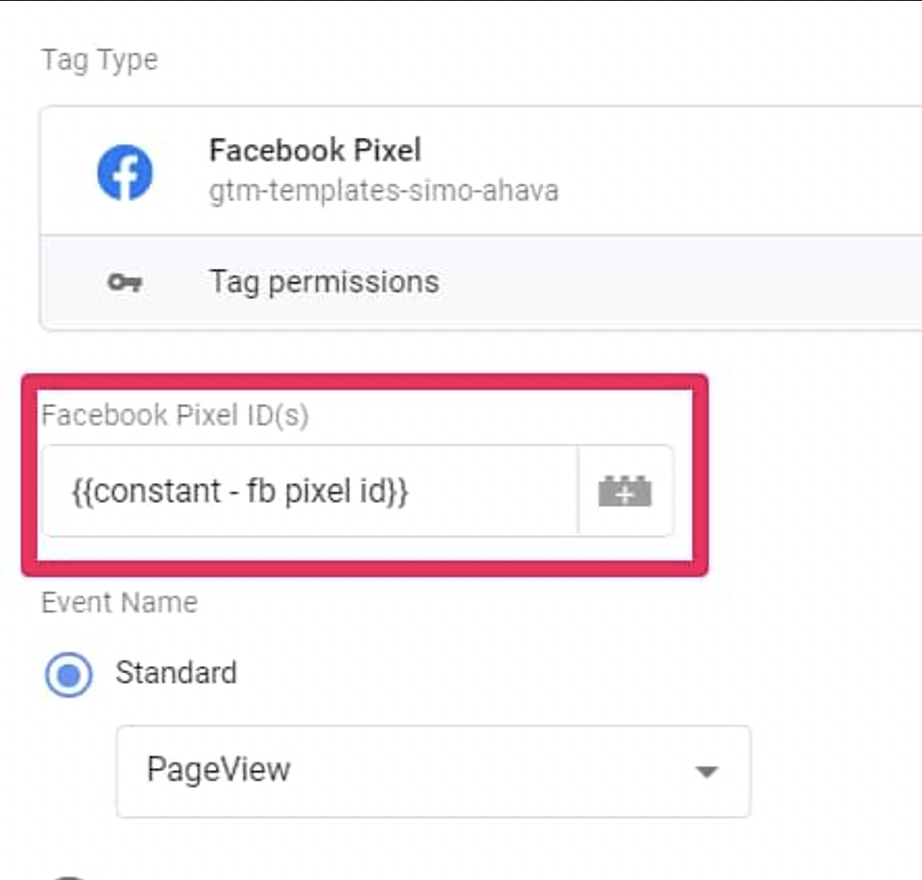
In a previous article, we managed to implement the Pixel code via GTM.
To do that we used the standard Facebook event pageviews.

Pageview event tells Facebook when someone lands on a web page with the Pixel base code installed.

However, pageviews alone don’t tell a lot about what a visitor/user is doing on your site. Did the visitor just landed on a page and left? Or did he/she clicked something, scrolled, submitted a form, made a purchase?
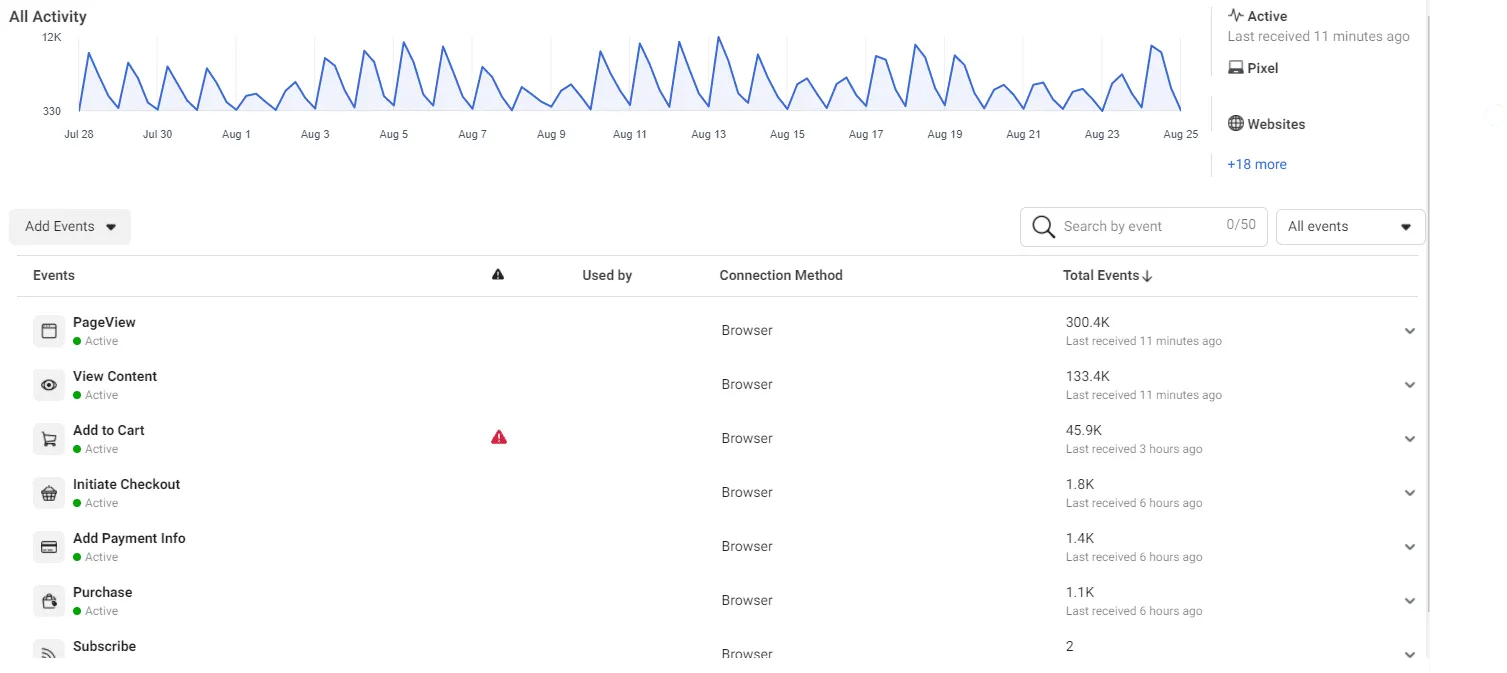
All these actions/conversions are recorded as events in Facebook Pixel and you can find in your in the Facebook Events Manager.

If you are familiar with Google Tag Manager, think the Facebook Events as triggers that fire up the Pixel when a website visitor takes a particular action/conversion.
This allow you to track your customer’s journey, optimise your adverts for conversions and calculate your return on ad investment. You can also use tracked conversions to define custom audiences and dynamic ad campaigns.
Benefits of using Facebook Pixel for Conversion Tracking #
Let’s dig a little bit deeper into the reasons why you need to set up Facebook Pixel for conversion tracking.
-
Optimise Facebook algorithm.
Setting up the events on Facebook is extremely important because it arms Facebook and its algorithm with the data that it needs to effectively optimise and deliver your ads to the right people at the right time based on your overarching business goals.
The easiest way to think about it is that Facebook doesn’t really know what’s going on your website, so you really need to hold its hand to show the algorithm which events are the most important to your business.
-
Optimise Facebook ads for value.
As Facebook collects data on who buys from your site and how much they spend, it can help optimise your ad audience based on value. That means it will automatically show your ads to the people who are most likely to make high-value purchases.
-
Optimise Facebook Audiences.
Event tracking will make the process of audience segmentation a whole lot easier and let you reach out to them based on their level of interest in your product or service.
-
Create Dynamic ad campaigns.
Dynamic product ads can be created, allowing you to retarget recent website visitors with the exact products they viewed.
-
Measure the ROI.
Conversion tracking on Facebook allows you to see how many conversions you’ve received, whether they be registrations (email subscribers), sales, form completions, or anything else your ad campaigns are responsible for.
-
Measure A/B tests performance.
Conversion tracking lets you see exactly where your results are coming from. So you can continually improve the performance of your campaigns.
Methods For Tracking Conversions #
Facebook Pixel provides 2 event type and 3 different ways to track conversions.
-
Standard event
Other than the
pageviewevent, Facebook Pixel has additional predefined standard events, such as viewing a product, add to cart a product, purchasing a product, etc.According to the official Facebook documentation, these are the most common actions that a visitor/user can do on a site.
Standard events also support parameters (also called “Object Properties” or “Property Key”) with allows you to collect additional information about an event such as how many products were added to cart, what their price was, product ids, categories, etc.
The majority of event parameters are optional, the
purchaseevent is the only event that requires parameters (value and currency).Note: By default, the currency parameter is set to your Facebook ad account’s currency, so if you don’t specify any, this is what Facebook will use.
By looking at the documentation, you can see the list of all the standard event available and the parameters each event expect.
-
Custom event
Custom events are actions that fall outside the predefined standard events.
Note: custom events should only be used when standard events alone are not enough to measure your goals.
It’s allows you to identify special use cases and treat them like conversions, such as
time on page(e.g. when you fire an event after a visitor spends 5 minutes on a page),page scroll,video play, etc.Custom event also support parameters and you can feel free to come up with any custom parameter you want.
However, custom events cannot be used directly in optimisation.
This because, with standard events, Facebook knows that a
purchaseevent is more important than aViewContentevent, while with Custom events Facebook simply does not know what a certain custom event means, sopage scrollandtime on pageevents are on the same level of uncertainty.
As per Facebook docs:
Standard event can be used for conversion tracking and optimising in addition to audience building.
Custom event can only be used for audience building NOT for conversion tracking and optimisation.
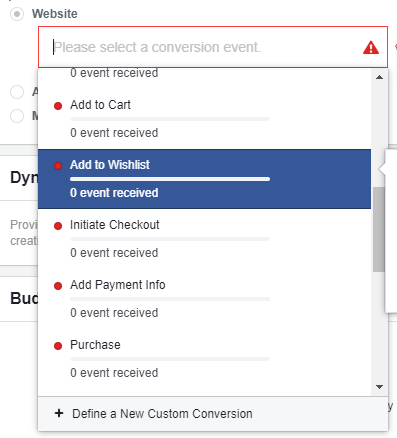
So, if you’re setting up a conversion campaign, you will not be able to select this event from the dropdown event list, as it will not be recognized by Facebook.

Building audiences has the added benefit of being able to use trackCustom in order to build more specific audiences that are not covered by 1 of the 9 standard events. You can continue to pass customData into these events for more granular audience building. However, you can not track or optimise for conversions based on custom events at the current time.
A little-known workaround is that you can map a custom event to a standard event using the “Custom Conversions” feature in Facebook.
Once you create a custom conversion based on the custom event, it’ll work just like the standard events: you can report on ad performance and optimise ads based on it.
Again, without mapping those events to custom conversions, you will not be able to track and optimise for them.
It’s important to know that custom conversions should not be used in place of standard and custom events; they should be used in addition to them.
The advantage of Custom Conversions #
Standard events, custom events (using the trick above), and custom conversions can all be used for reporting and optimisation.
However custom conversions offer more granularity.
This more granularity is given by the possibility of being able to combining standard or custom Pixel events (such as ViewContent, AddToCart or Purchase) and other arbitrary parameters (such as price or product category).
For example, you can select the purchase standard event as your conversion event that would be used for optimisation.

You could use a custom event for this same purpose (in my case, one of my custom events is Podcast Play).

Custom conversions, though, allows you to set a more specific conversion event.
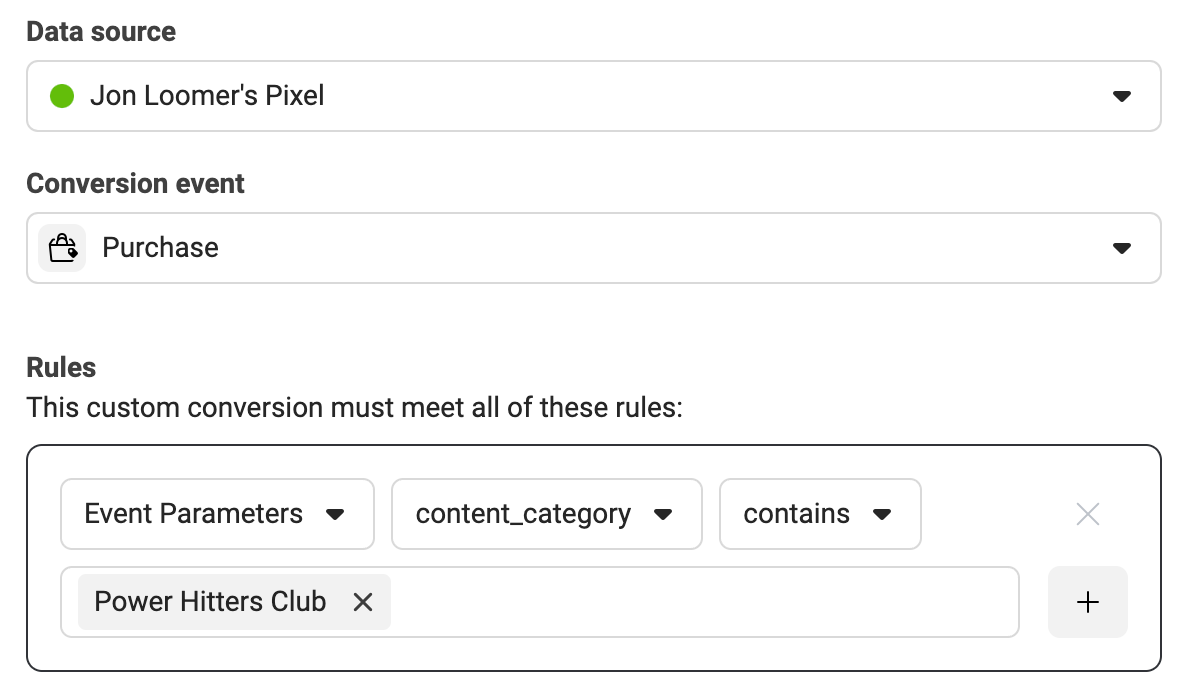
First, create a custom conversion based on the purchase of a specific product (or, in this case, category of product).

Then, You could set that as your conversion event, which could be used for optimisation.

The Downsides of Custom Conversions #
Static value
The value you assign to a Custom Conversion is static. It never changes. Whenever that custom conversion is triggered, it always has the same value assigned.
That’s fine only if you’re selling a single product with one price point.
It’s also not a problem if you’re selling multiple products, each with a separate order confirmation page with its own unique URL. In that case you’d just set up a separate Custom Conversion for each product / URL, each with it’s own conversion value.
It’s also not a problem if you’re selling multiple products, each with a separate order confirmation page with its own unique URL. In that case you’d just set up a separate Custom Conversion for each product / URL, each with it’s own conversion value.
But that’s not how most e-Commerce sites work. Most e-Commerce sites work using the same order confirmation page that’s dynamically updated based on what each customer purchases.
For example, customers might always be taken to http://fakeshoppingsite.com/order-confirmed after they purchase, regardless of whether they purchased blue shoes, a red shirt, or a green bowtie.
In that case it’s impossible to track order values with Custom Conversions because that order confirmation page always has the same URL & therefore the same conversion value no matter what the customer purchased.
No custom audiences
You can create website custom audiences based on standard and custom events. You can’t do this with custom conversions.
Which standard events should I track? #
That depends on your business model and relative marketing funnel. According to that, each step of your funnel should trigger an event.
I will try to go over a marketing funnel for the service (B2B) and eCommerce industry and I will simplify a bit the funnel so that it’s easier to explain.
-
eCommerce business events

In that case, the standard events for you are:
View Content: You’d like to set your pixel to register this event when a visitor views your homepage, category pages and product page. You’d like to set this event to fire on page load.
Add to Cart: This event will be registered when a visitor clicks any “Add to Cart” button on your website and should fire on an inline action. If you use a Wishlist on your website, you can also set up the event Add to Wishlist.
Initiate Checkout: This event should also fire on inline action when a visitor initiates checkout.
Add Payment Info: You can set up this event to fire on inline action when the customer clicks “Save” after adding their payment info, or when the next page in the purchase process loads.
Purchase: This event will fire on inline action once a visitor clicks “Complete Purchase” or on page view if you have a “Thank you”/purchase confirmation page.
Note: Only ViewContent, AddToCart, and Purchase are needed in order to use dynamic ads in your ecommerce marketing and remarketing campaigns. Documentation.
Service company events

In that case, the standard events for you are:
View Content: You’d like to register this event on page load on your Homepage, Product Pages, Blog Page, Blog Articles, and Sign-Up Page.
Lead: You’d like this event to fire on page load if you have a “Thank you”/Complete Sign-Up Page, or on inline action when you don’t and the customer just clicks a Complete Sign-Up Button.
In case you provide a free trial
use the standard event Start Trial or Subscribe
In case you provide a paid subscription:
Add Payment Info: This event will fire on inline action when the customer clicks “Save” after adding their payment info, or on page load if you have a separate page for adding payment info.
Purchase: This event will fire on inline action once a visitor clicks “Complete Purchase” or on page view if you have a “Thank you”/purchase confirmation page.

Thanks for sharing, this is a fantastic blog post.Thanks Again. Really Great.
Very good blog article.Thanks Again. Really Great.
I value the article.Much thanks again. Keep writing.
Thanks a lot for the blog article.Really looking forward to read more. Much obliged.
I think this is a real great article. Will read on…
Really enjoyed this article post.Much thanks again.
Thanks for the blog.Really thank you!
Thank you for your article post.Really looking forward to read more. Much obliged.
Thank you ever so for you article post.Much thanks again. Cool.
Say, you got a nice article.Really thank you! Will read on…
Thanks so much for the article post.Really thank you! Fantastic.
Looking forward to reading more. Great blog article.Thanks Again. Really Cool.
Fantastic blog article.Much thanks again. Much obliged.
Thanks-a-mundo for the blog.Really thank you! Really Cool.